This article is a continuation of the previous article about How to Install Apache, MySQL and PHP in Ubuntu 18.04 LTS Part 1. For those who have not read the article, you must first read the previous article. Because for the smooth running of this tutorial, a lot has to do with the article.
Let’s just go straight to the tutorial continued.
3. Install PHP
To install PHP on Ubuntu 18.04, please open a terminal and run the following syntax:
|
1 |
sudo apt install php libapache2-mod-php php-mysql |
After installing PHP, create the info.php file in the Apache root document folder. Typically, the apache root document folder is /var/www/html/ or /var/www/ on most Debian-based Linux distributions. On Ubuntu 18.04 LTS, it is /var/www/html/.
Let’s create the info.php file by running the following syntax in the terminal:
|
1 |
sudo vi /var/www/html/info.php |
Add the following syntax in it:
|
1 2 3 |
<?php phpinfo(); ?> |
Press the ESC key and type :wq to save and exit the file. Restart the apache service to apply the changes.
|
1 |
sudo systemctl restart apache2 |
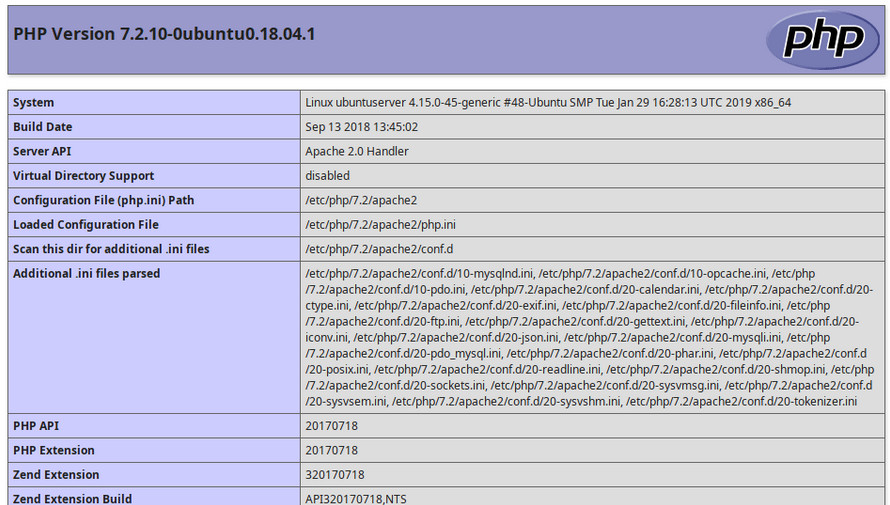
Now try accessing the info.php file by typing the url http://localhost/info.php in your browser. Then it will appear as shown below:

Congratulations, your installation is complete. If you still don’t understand, or have questions that you want to ask, please leave your comments below. May be useful… 🙂


Comments 1